


How to get verification emails for user registration working in a Phoenix 1.6 web application, using SendGrid
A step-by-step walkthrough

In this post I will walk through the steps required to create a web application written in Elixir. This web application, named “Socrates” since it is a teacher, will make use of the Phoenix 1.6 web application framework and will have working user registration with email verification.
In the next post I will walk through deploying this application on Fly.io, which is a cloud platform well-suited to Phoenix apps.
Set up your development environment
To begin, get yourself a MacBook. I have not used a Windows machine in years and most web developers work on MacBooks. In addition, I will assume you have some familiarity with the command line and also with Git.
Now, originally I was going to merely instruct you to install Erlang and Elixir using the Homebrew package manager, which is the approach officially recommended by the instructions here: https://elixir-lang.org/install.html.
However, experience has taught me that over time a version manager will prove invaluable. Suppose that you are reading this blog post a couple years from now and various updates and deprecations have proliferated throughout the ecosystem. In this case you will certainly find that some incompatibility will prevent the project from working as expected. In fact, I find that this is the case even now as I try to run examples that were created only a few months ago. So it is important to bolt down the exact version of the underlying tools that will be used to create the project.
Installing the asdf version manager
In the past, version managers were created for different individual packages. So, for instance, if you were a python developer then you would make use of pyenv for python version management, and if you were a Ruby developer then you would use rbenv, and there was also NVM, the node version manager, and so on.
Now it turns out that a single developer usually works with several different programming languages, and also that a single project makes use of a handful of different tools that each require versioning. So rather than worrying about a different version manager for each of the dozen different tools that may be used on your development system, some smart person decided to create one version manager to rule them all. This is the asdf version manager. You can click that link to read a bit about it and to get the official installation instructions.
Once you have installed asdf you will have a .asdf/ directory in your home directory, which is where the action will take place. You can also type
asdf plugin list allat your terminal command line to see all the different tools that asdf can be used to control the versions of. You will notice that Elixir and Erlang are included in the list.
You should also see a .tool-versions file listed in your home directory, with a few tools + versions listed in it. These are the global default versions.
Install Elixir and Erlang
Your first order of business, for the purposes of this project, is to install the latest versions of Erlang and Elixir (as of September, 2021), which are Erlang 24.0.6 and Elixir 1.12.3-otp-24.
Now that you have Elixir installed, you have access to a tool called mix, which “is a build tool that provides tasks for creating, compiling, and testing Elixir projects, managing its dependencies, and more.”
Install Phoenix 1.6
With asdf controlling versions, Elixir (and Erlang) installed, and mix available, we can now move on to installing the version of Phoenix that we will to use to build our web application, which is 1.6-rc.0. “rc.0” means that this is the initial version of a “release candidate” for version 1.6. A few weeks from now you may be able to just install version 1.6, but for now we are working with a preliminary version of 1.6. To install Phoenix, run
mix archive.install hex phx_new 1.6.0-rc.0If you’re curious where Phoenix 1.6-rc.0 was installed, it should be in ~/.asdf/installs/elixir/1.12.3-otp-24/.mix/archives
Install PostgreSQL
The final step we must take to get our development environment ready for our web application is to install PostgreSQL. We are going to be building a database-backed application, and it doesn’t make sense to use any database other than PostgreSQL. We need a local version for development and testing, and we’ll also set up a PostgreSQL database on Fly.io for our production deployment.
To install PostgreSQL you can either use Homebrew or one of the approaches suggested here: https://www.postgresql.org/download/macosx/. It is technically possible to use asdf to manage different versions of PostgreSQL, but this is probably not necessary.
Generate a new Phoenix 1.6 project
Now that our development environment is ready, we can generate a new Phoenix 1.6 project (officially documented here). At your terminal command prompt type:
mix phx.new socratesYou should choose to fetch and install the dependencies when prompted. This will create a directory called socrates/ in which the project will reside. Then cd into your new project directory and run
mix ecto.createin order to get your database set up. Ecto is the database wrapper and query generator for Elixir. You should now be able to run
mix testand see that some basic tests are working correctly for your applicaiton and then run
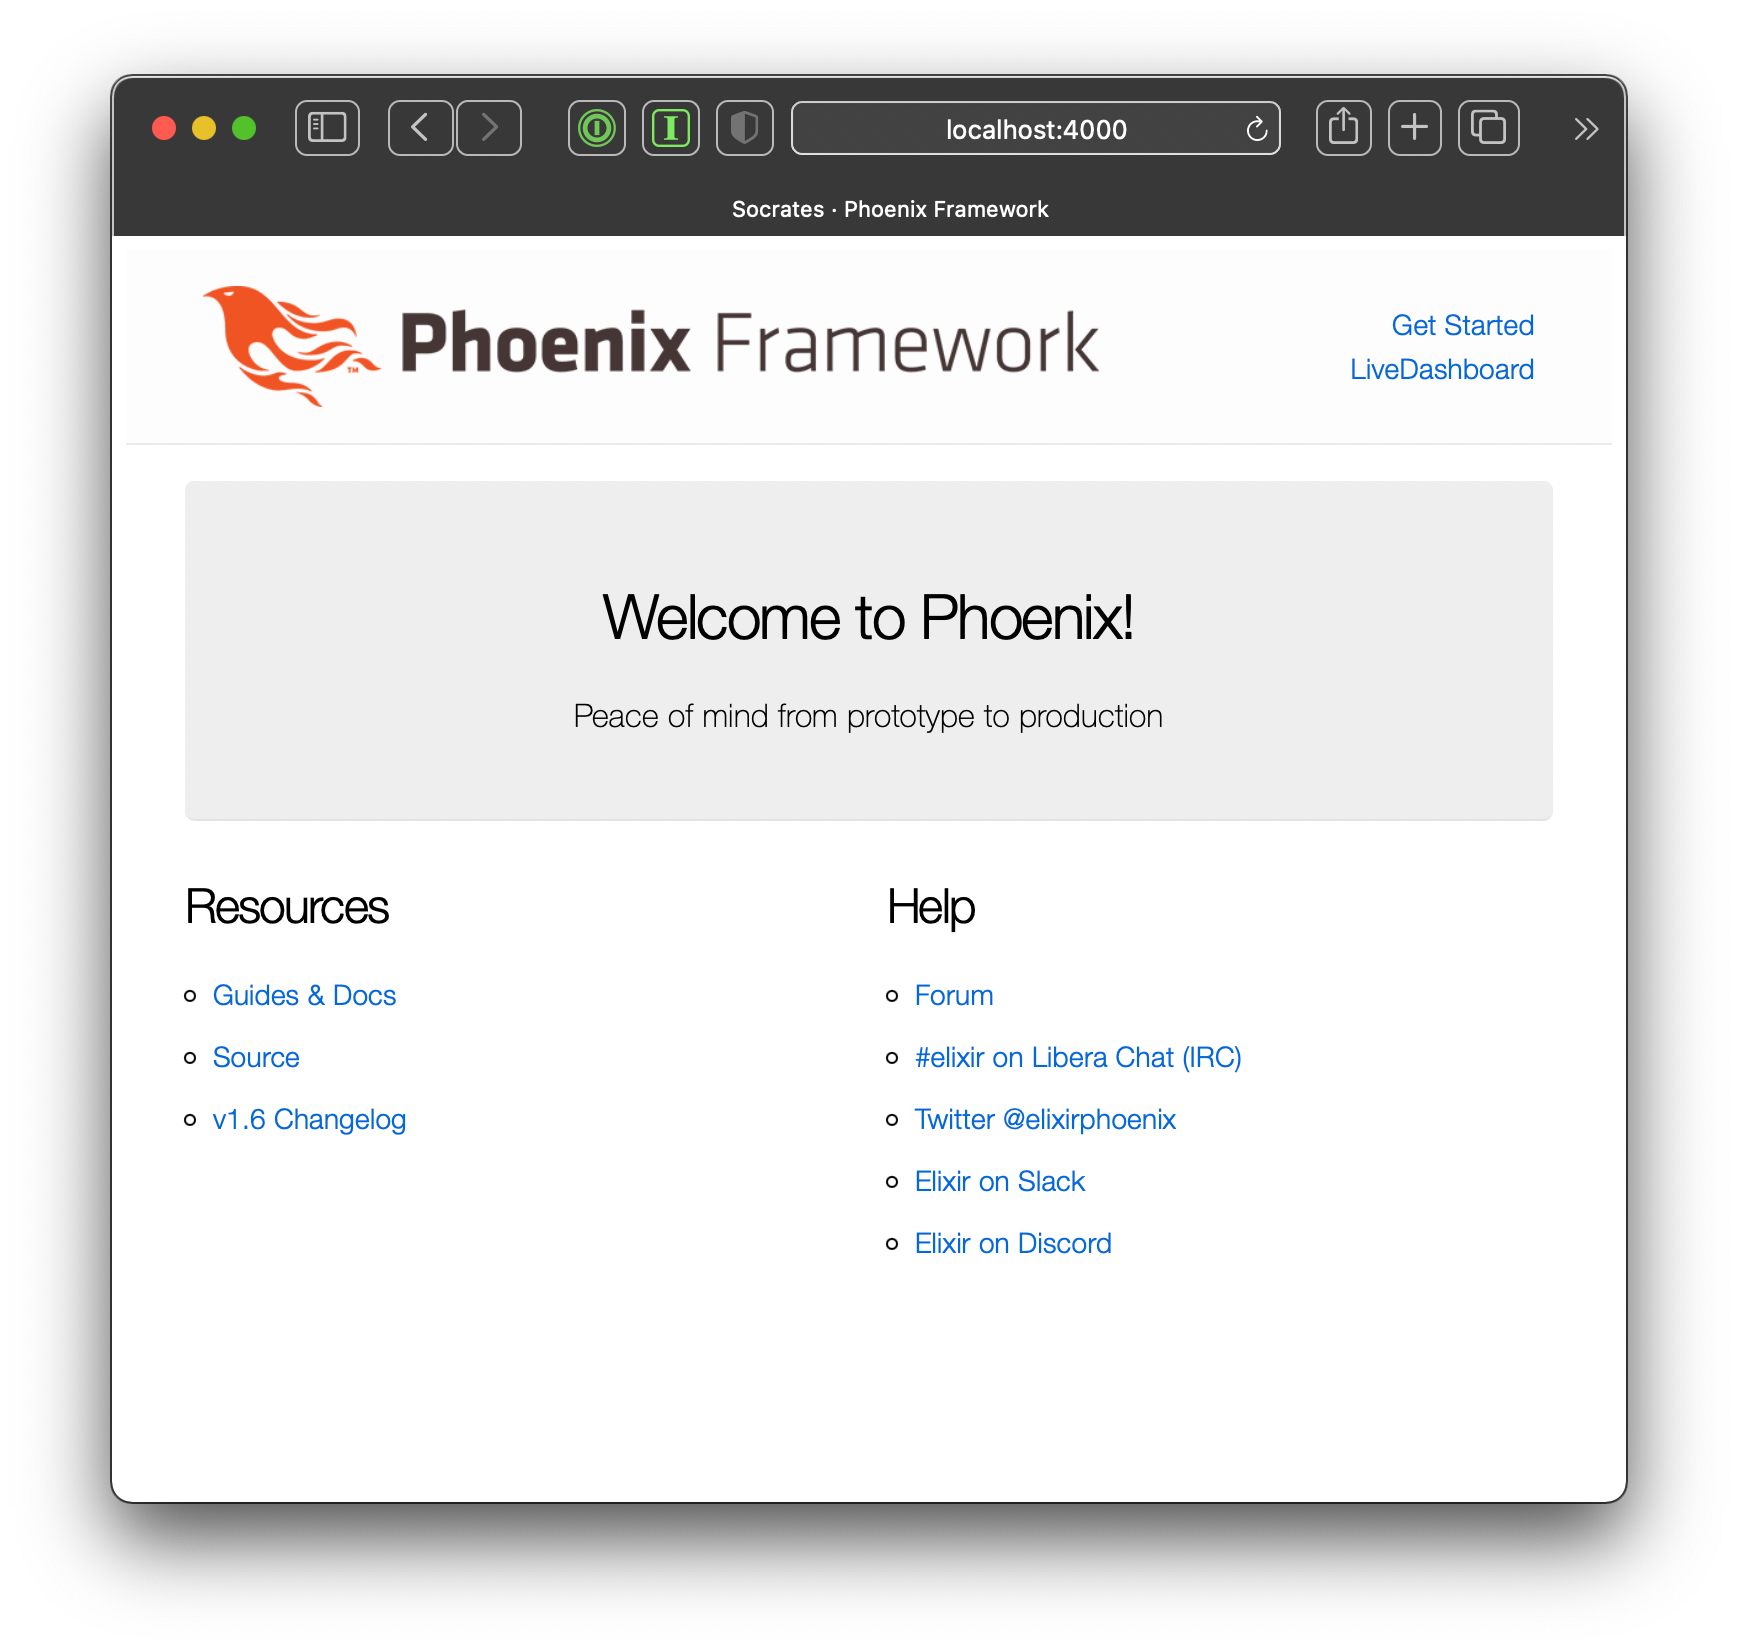
mix phx.serverwhich will start a local development web server so that you can view your web application in your browser at http://localhost:4000. It should look like this:
The last step we should take in this initial state is to add a .tool-versions file to our project so that we have the proper versions of Erlang and Elixir bolted down in case we want to revisit this project in a few months, after the ecosystem has moved on. Inside your new socrates/ directory create a file called .tool-versions with the following two lines:
erlang 24.0.6
elixir 1.12.3-otp-24
(Of course you should be sure that these are in fact the versions of Erlang and Elixir that you used to generate this project.) In the future, when someone clones your repository they will be able to run the command
asdf installfrom the project directory and asdf will install the versions listed in the .tool-versions file and make sure that they are used for the project.
Your project should now look like the first commit in the example project on GitHub at: https://github.com/LiterateLabs/Socrates. Incidentally, you can see a list of all the commits at https://github.com/LiterateLabs/Socrates/commits, which you can use to follow along with the steps of this tutorial.
Add user accounts
The next step is to generate the files for user account creation. Phoenix has included a mix task that generates a basic user account system.
mix phx.gen.auth Accounts User usersThis files that this mix task generates have been carefully reviewed for security by the the elixir community and are based on the ideas sketched out in this blog post by Jose Valim, the creator of Elixir.
This user authentication system will allow users to register, will send a confirmation email with a link they can click on to verify their email address, prevents multiple users from signing up with the same email address, ensures the passwords are long enough, encrypts the password properly, and allows users to change their email or their password. It has all the basics down to get your application up and running with functional user accounts.
Once these files have been generated you will have to again run
mix deps.getbecause your mix.exs file will have been modified to add {:bcrypt_elixir, "~> 2.0"} and this dependency needs to be installed. You will then need to run
mix ecto.migratebecause some database tables to store the user information have been specified and now need to be created. Now that these new files have been generated you can again run
mix phx.serverand see the application running at http://localhost:4000, this time with a user registration system:
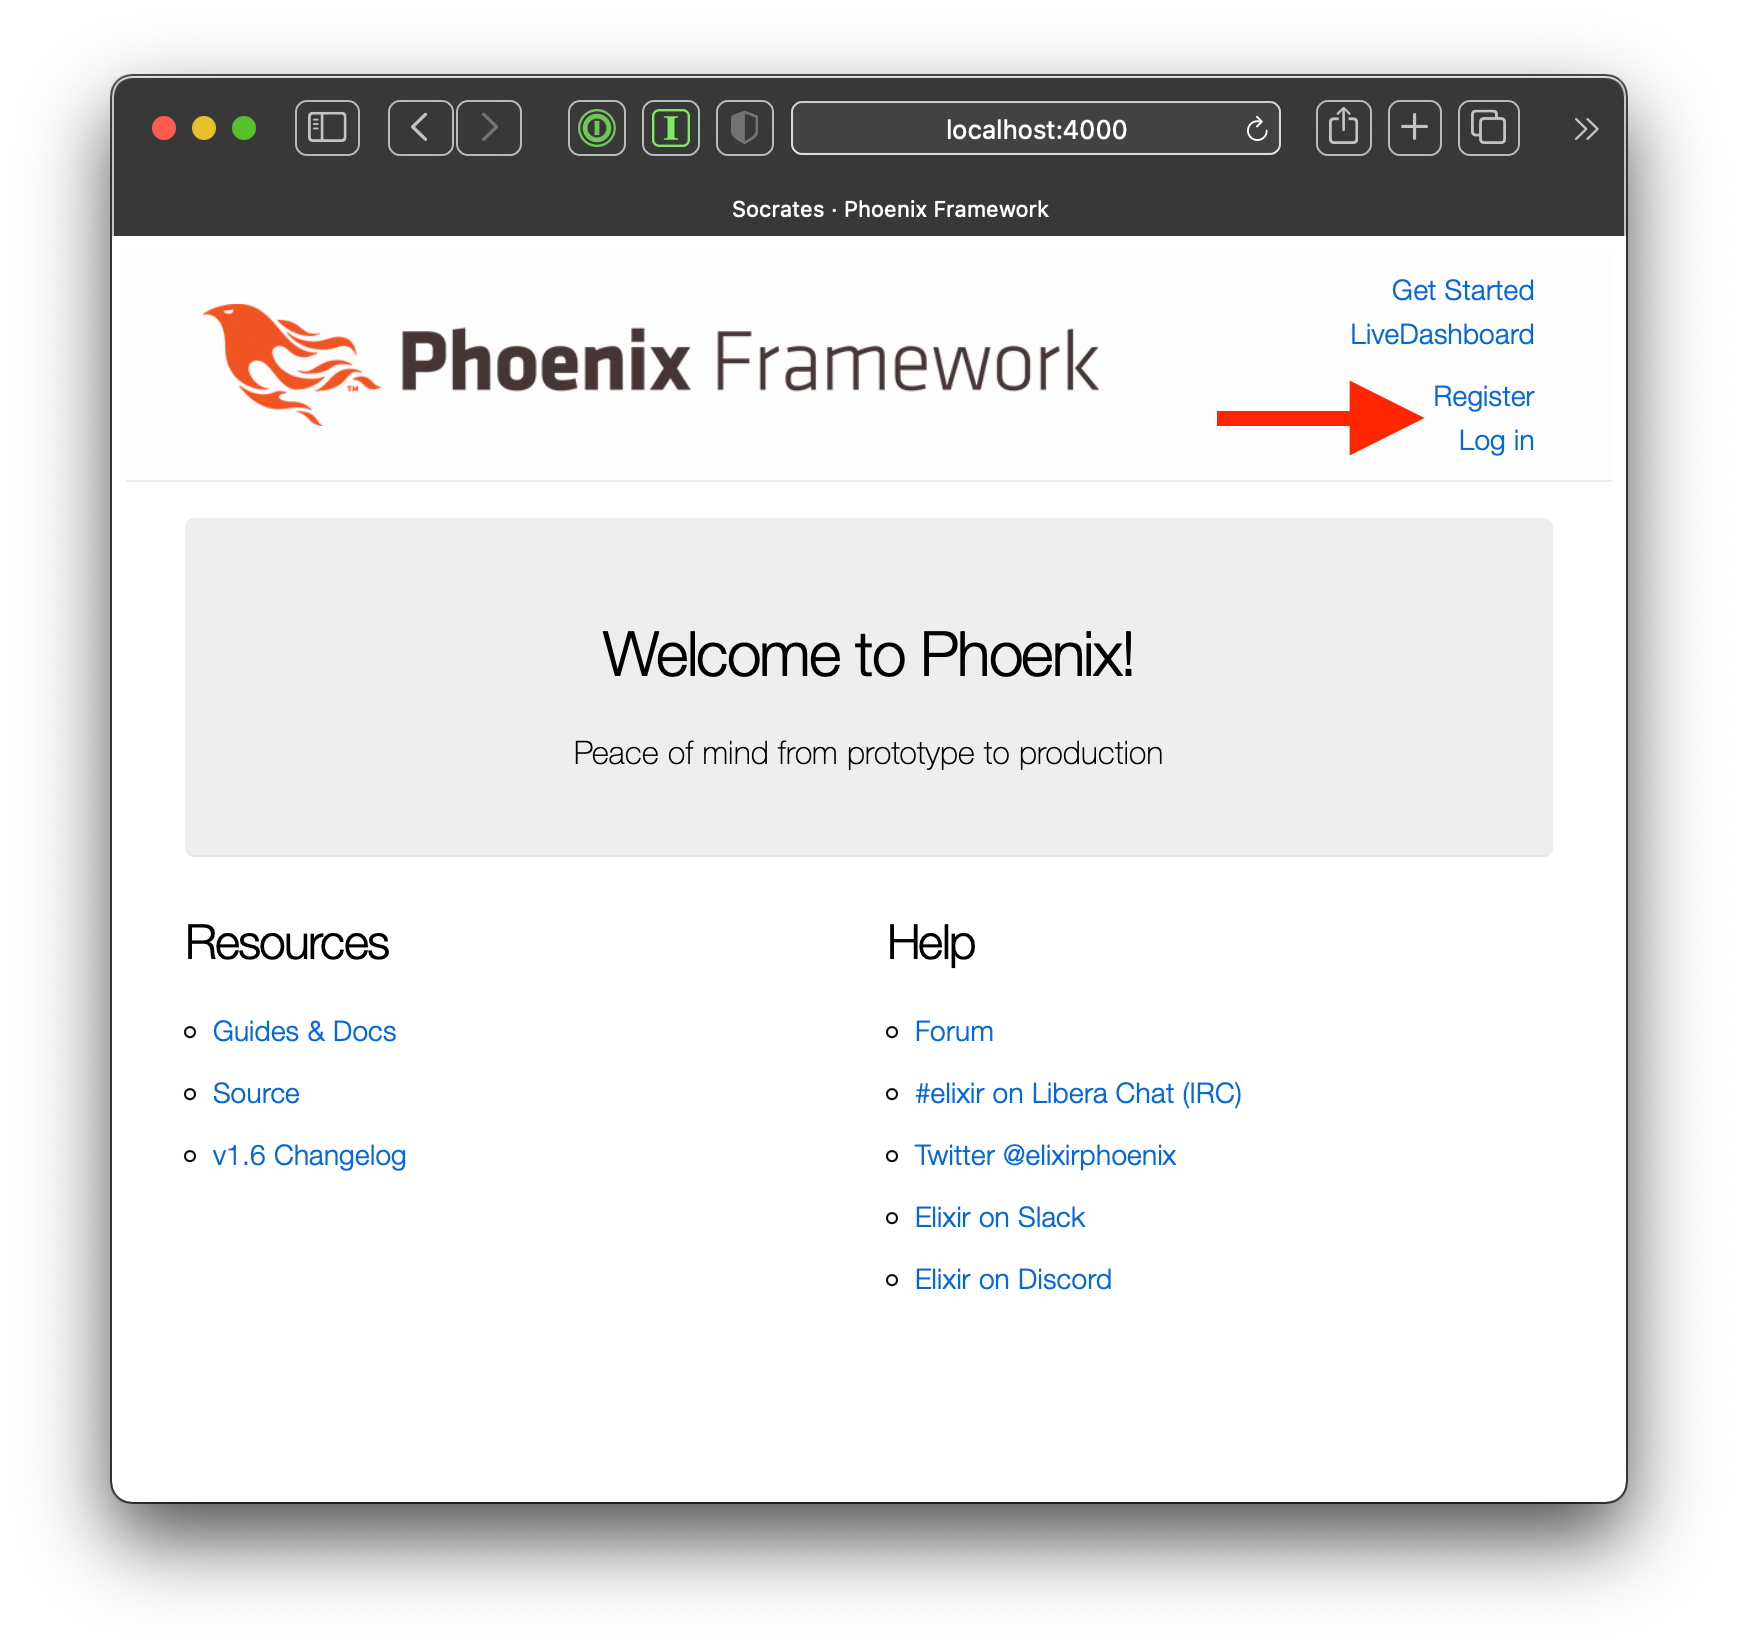
These links are functional and you can play around with registering yourself as a user and then logging in. Your project should now match the second commit in the example project. Note that that the deps/, _build/, and priv/static/assets/ directories are listed in the .gitignore file and so are excluded from version control and do not appear in the GitHub code repository.
Getting email verification working
As you play around with the user registration in your new web application may notice that you can register a user for your system with any email address and that if you use your own email address then you do not in fact receive an email with a confirmation link in it. To understand what is happening here, let’s examine some of the files in the project.
The first thing to observe is that there is a file called user_notifier.ex in the lib/socrates/accounts/ directory. This file contains three public functions, deliver_confirmation_instructions, deliver_reset_password_instructions, and deliver_update_email_instructions each of which calls the single deliver/3 private function in the file, which is defined as follows:
defp deliver(recipient, subject, body) do
  email =
    new()
    |> to(recipient)
    |> from({"MyApp", "contact@example.com"})
    |> subject(subject)
    |> text_body(body)

  with {:ok, _metadata} <- Mailer.deliver(email) do
    {:ok, email}
  end
end
Any time our application wants to send a user an email, it will go use this private deliver/3 function, so we can add a print statement to this function to inspect the email it is trying to send in order to verify if it is being executed, as follows:
defp deliver(recipient, subject, body) do
  email =
    new()
    |> to(recipient)
    |> from({"MyApp", "contact@example.com"})
    |> subject(subject)
    |> text_body(body)

  IO.inspect(email)

  with {:ok, _metadata} <- Mailer.deliver(email) do
    {:ok, email}
  end
end
We will then be able to see in the terminal output that the system is in fact printing the email that is being sent, so we know that this function is being called. The terminal output with the email being inspected should look something like this:

We can see that some insert statements are being made to enter the newly registered user into our database and that the email we are trying to inspect indeed exists. We can even see that this is a Swoosh email, which makes sense since Swoosh is the package that Phoenix has included to handle emails. (You can read about Swoosh at HexDocs). So this means that the deliver function is being called and executed correctly. So where is the email going?
The answer lies in config/config.exs. There is a section there from lines 21 - 31 that discusses configuring the Swoosh email package:

Swoosh comes with adapters for a variety of email services, such as SendGrid, Sendinblue, Sendmail, Mandrill, Mailgun, Mailjet, and several others — you can read about them in the Swoosh adapter docs. But as a default Phoenix has Swoosh configured to use the Local adapter, which is meant for development and is not intended to actually send real emails. The emails are only going as far as our local system, and we can view them in our app by going to http://localhost:4000/dev/mailbox.
Incidentally, we can also glance in lib/socrates_web/router.ex at lines 47-57 to see that by default Phoenix has configured a route for us to view these local emails in development mode:

Getting a SendGrid API key
So in order to get real emails sent, we will need to sign up with a service that allows us to send emails. I have chosen to go with SendGrid for the time being. If you want to follow along, then go to SendGrid.com and click the “Start for Free” button in the corner and then give them the information they request. Once you have an account set up and you are at your dashboard, then you can generate an API key with which to send emails from a web application. It is under “Settings” in the menu on the left.

Following the screen shots above, go ahead and hit the button to create an API key, give it a meaningful name, and grant it full access. Once you’ve done all that, copy the API key and store it in a secure place. This key should be kept secret because it grants access to your SendGrid account and a malicious person could do bad things with it. So we don’t want to keep this API key in our project directory because we don’t want to inadvertently commit it to our git repository. (It is a nuisance to remove information from Git because Git is so assiduous about tracking the history of a project).
Wherever the API key is permanently stored, the way to give our application access to it will be through setting it as an environment variable — just add the following line to your .bashrc or .zshrc file so that the SENDGRID_API_KEY environment variable is set whenever you start your terminal:
export SENDGRID_API_KEY='SG.xxxxxxxxxxx.xxxxxxxxxxxxxxxxxxxxxx'Now, from your terminal you should be able to enter the command
echo $SENDGRID_API_KEYand see the API key appear. We will now be able to load this API key into our application through our config system.
Understanding the Phoenix config/ directory
The phoenix directory structure docs have the following to say about the config/ directory:
The
config/config.exsfile is the entry point for your configuration. At the end of theconfig/config.exs, it imports environment specific configuration, which can be found inconfig/dev.exs,config/test.exs, andconfig/prod.exs. Finally,config/runtime.exsis executed and it is the best place to read secrets and other dynamic configuration.
You may notice that the last line of config/config.exs reads:
import_config "#{config_env()}.exs"this is the line that will load the environment-specific configuration for your application, which will over-ride configuration settings that have been set higher up in your config.exs file.
The problem with loading our API key in either our config.exs file or one of the environment-specific config files is that these files are executed at compile time in order to generate the artifact that will reside in our _build/ directory and possibly be deployed to our production environment. This means that our secret key will actually be included in the compiled artifact and an attacker with access to the compiled program could reverse-engineer it to extract the key.
Ideally we want the secret key loaded into our program after it has been compiled but before it starts executing — i.e., at the moment that it starts up. This also allows us to change our API key after we have deployed our application to production — rather than re-compiling and re-deploying our application if we change the API key we would merely need to restart it in order to read in the new key from the environment.
This is what the config/runtime.exs script does — it is executed after the program has been compiled but before the program starts. If we load our API key from this script then the key will never be stored anywhere except in environment variables and in the RAM of the running program, thereby considerably raising the bar for the malicious attacker we are concerned about.
Configuring Swoosh to actually send emails
If you take a look at the config/runtime.exs file you can see that it in fact already has a commented-out section from lines 51 - 67 with instructions for configuring the Swoosh Mailer — the example they have refers to the Mailgun adapter, but we will use SendGrid instead.
Let’s edit config/runtime.exs to remove lines 51 - 67 and then add the following lines outside of the if config_env() == :prod do block:
if config_env() == :prod or config_env() == :dev do
  # Configuring the mailer
  config :socrates, Socrates.Mailer,
    adapter: Swoosh.Adapters.Sendgrid,
    api_key: System.get_env("SENDGRID_API_KEY")

  config :swoosh, :api_client, Swoosh.ApiClient.Finch
end
Note that we still want to constrain our email configuration to the prod and dev environments — we don’t want real emails going out when we run our tests. It is also worth noting that we have to configure Swoosh with an api_client — I have chosen Finch after reading this discussion on the Elixir Forum about HTTP clients.
In addition to specifying Swoosh.ApiClient.Finch in our config/runtime.exs file, we will also have to add Finch as a dependency in our mix.exs file and start it in our applications supervision tree. This is explained in the Swoosh docs on using Finch.
Once these adjustments have been accomplished the start/2 function in lib/socrates/application.ex should look like this:
  @impl true
  def start(_type, _args) do
    children = [
      # Start the Ecto repository
      Socrates.Repo,
      # Start the Telemetry supervisor
      SocratesWeb.Telemetry,
      # Start the PubSub system
      {Phoenix.PubSub, name: Socrates.PubSub},
      # Start the Endpoint (http/https)
      SocratesWeb.Endpoint,
      {Finch, name: Swoosh.Finch}
      # Start a worker: Socrates.Worker.start_link(arg)
      # {Socrates.Worker, arg}
    ]

    # See https://hexdocs.pm/elixir/Supervisor.html
    # for other strategies and supported options
    opts = [strategy: :one_for_one, name: Socrates.Supervisor]
    Supervisor.start_link(children, opts)
  end
and
{:finch, "~> 0.8"},should be listed in the project dependencies section of mix.exs.
Even with the correct API key loaded and Finch set up correctly, we still have to take one more step to get our email system working correctly. SendGrid turns out to be a responsible email service, so it will not allow us to send emails that are not properly associated with a domain or email address. Since I will be deploying this app to Socrates.LiterateLabs.com, I have gone ahead and authenticated my LiterateLabs.com domain with SendGrid. You can do the same for your own domain by following SendGrid’s domain-authentication instructions here. This amounts to making a few changes to your DNS settings.
Once your domain is authenticated you can adjust the lib/socrates/accounts/user_notifier.ex file to send the email from your authenticated domain:
# Delivers the email using the application mailer.
defp deliver(recipient, subject, body) do
  email =
    new()
    |> to(recipient)
    |> from({"Socrates", "Socrates@LiterateLabs.com"})
    |> subject(subject)
    |> text_body(body)

  with {:ok, _metadata} <- Mailer.deliver(email) do
    {:ok, email}
  end
end
You will now have to run mix deps.get to install the new fitch dependency and restart the application at the command line. Upon restarting you should start receiving emails from your application if you try and register a user with your email address.
Your project should now match the third commit in the example project on Github.
Now that emails are properly being sent we can go ahead and deploy this application on Fly.io, which is explained in the next post.
Great article :) when I first followed this, for me it worked for dev, but not prod, and I wasn't sure why. For anyone else with the same issue, my problem was that I'm using Distillery for production, and Distillery handles runtime configuration differently. The solution was to put the configuration in prod.exs instead, and set the :api_key value to "${SENDGRID_API_KEY}", which Distillery swaps in at runtime via REPLACE_OS_VARS: https://hexdocs.pm/distillery/config/runtime.html